Granny’s sugar cookies
When I was baking with my Mom the other week, I asked her if she had a family sugar cookie recipe she could share. Something to note, while my family enjoys frosted sugar cookies the most out of all the Christmas cookie options, we don’t usually make them because of the hassle. If we’re being honest, the chilling, rolling, cutting, re-rolling followed by frosting and decorating is a lot of trouble when the taste and texture matter most.
So she started rifling through her cabinets, which apparently house Ziploc bags filled with recipes written down from people and clipped out of magazines, and eventually found a piece of yellow paper with her Mom’s writing for a sugar cookie recipe. Of course, I had to try making them.
Full disclosure, these cookies are originally intended to be made with Crisco rather than butter — both the dough and frosting. After some thought and discussion, I realized this is likely because Crisco is a shelf-stable, non-fussy and more foolproof product for baking. You don’t have to worry about maintaining Crisco’s structure through temperature or be careful how much you handle it, and things still come together beautifully.
Granny’s Sugar Cookies
Makes 3 dozen
What you need
SUGAR COOKIE DOUGH
2/3 cup shortening (yes, use it!)
1 1/2 cups granulated sugar
2 eggs
1 TSP vanilla extract
4 cups self-rising flour (alt. Add 6 TSP baking powder + 2 TSP salt to AP flour)
4 TBS milk
BUTTERCREAM FROSTING
2 sticks unsalted butter, softened (Granny called for Crisco, but I wanted the flavor of butter!)
16 oz. confectioner’s sugar
1/4 cup milk (Granny called for water, but I thought milk would be creamier)
1/4 TSP salt
1 TSP vanilla extract
1/2 to 1 TSP almond extract
How to make them
FOR THE DOUGH
Cream the shortening and sugar together on medium/medium high speed until combined and very fluffy. Truly, let this get fluffy, it will take several minutes but this is key for the texture.
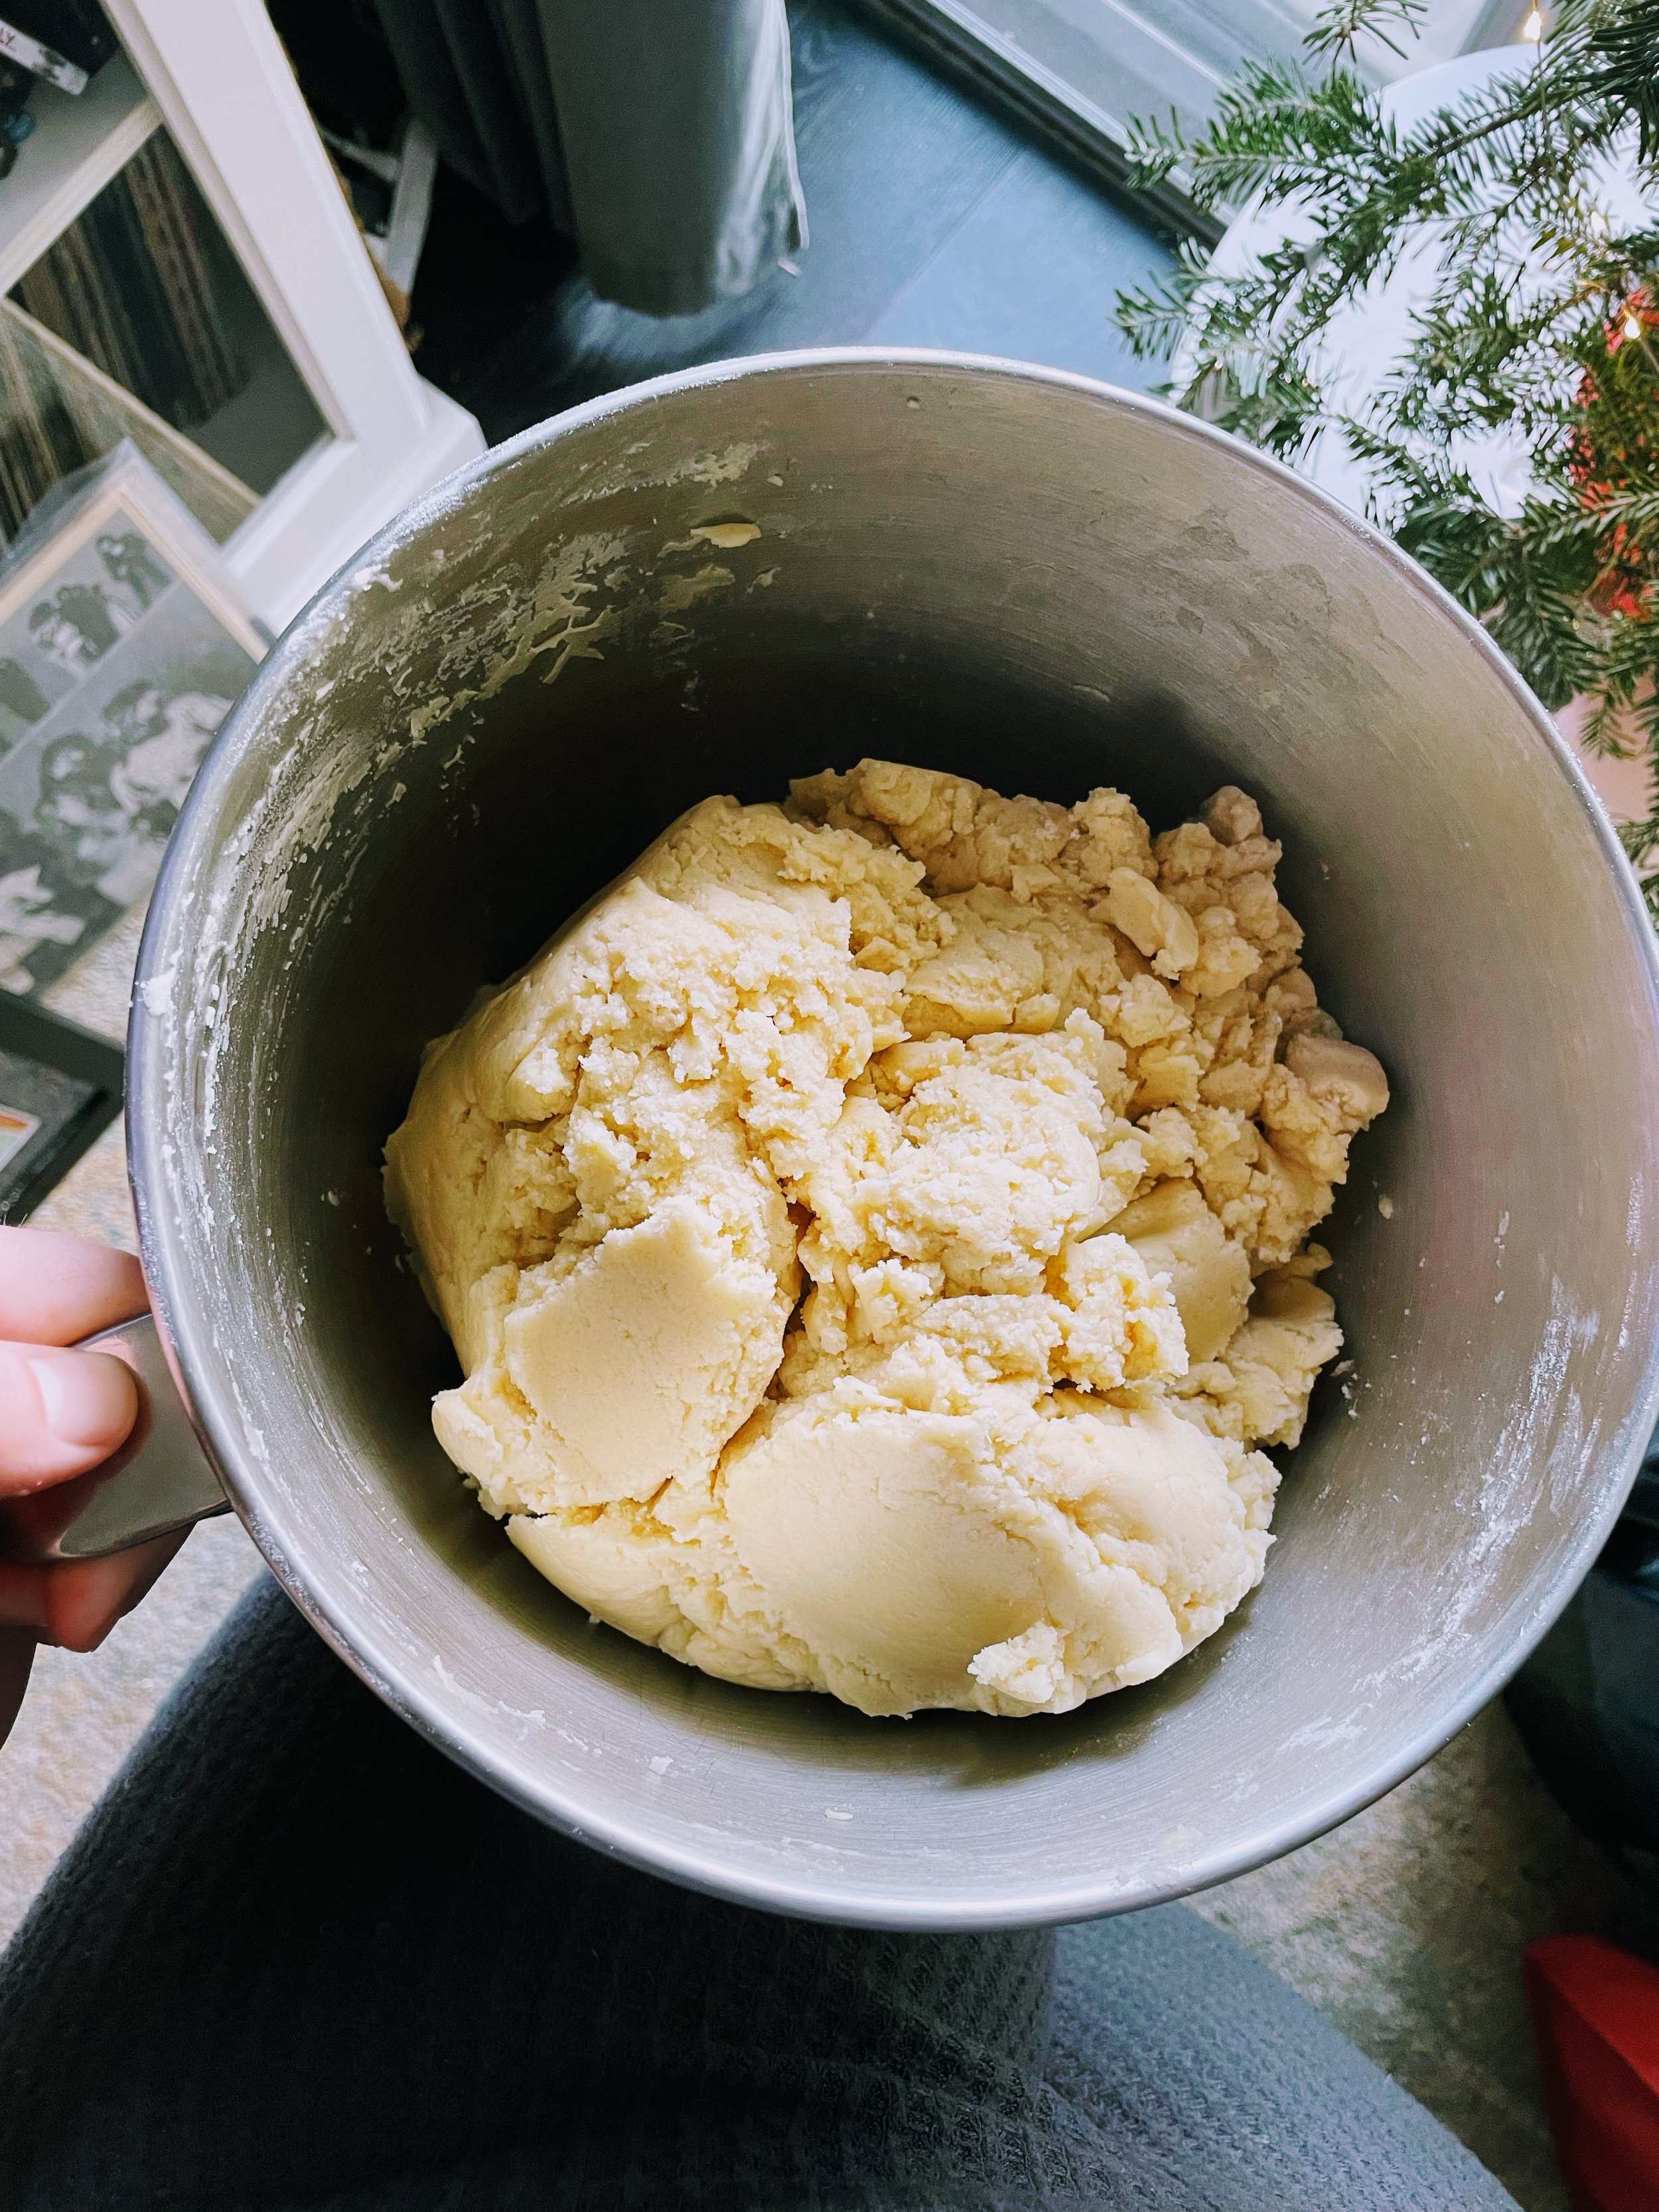
Add the eggs one at a time on low speed, followed by the vanilla — mix well until light and fluffy. Then, add in the flour and milk alternatively until the dough is fully mixed together and starts to form a ball.
Form the dough together more in your hands until it’s officially a large ball, then turn onto a floured surface. Cut the ball into four sections (each section will produce about 9 cookies depending on the shape you do). Cover the other three sections you’re not immediately using in plastic wrap so they don’t dry out.
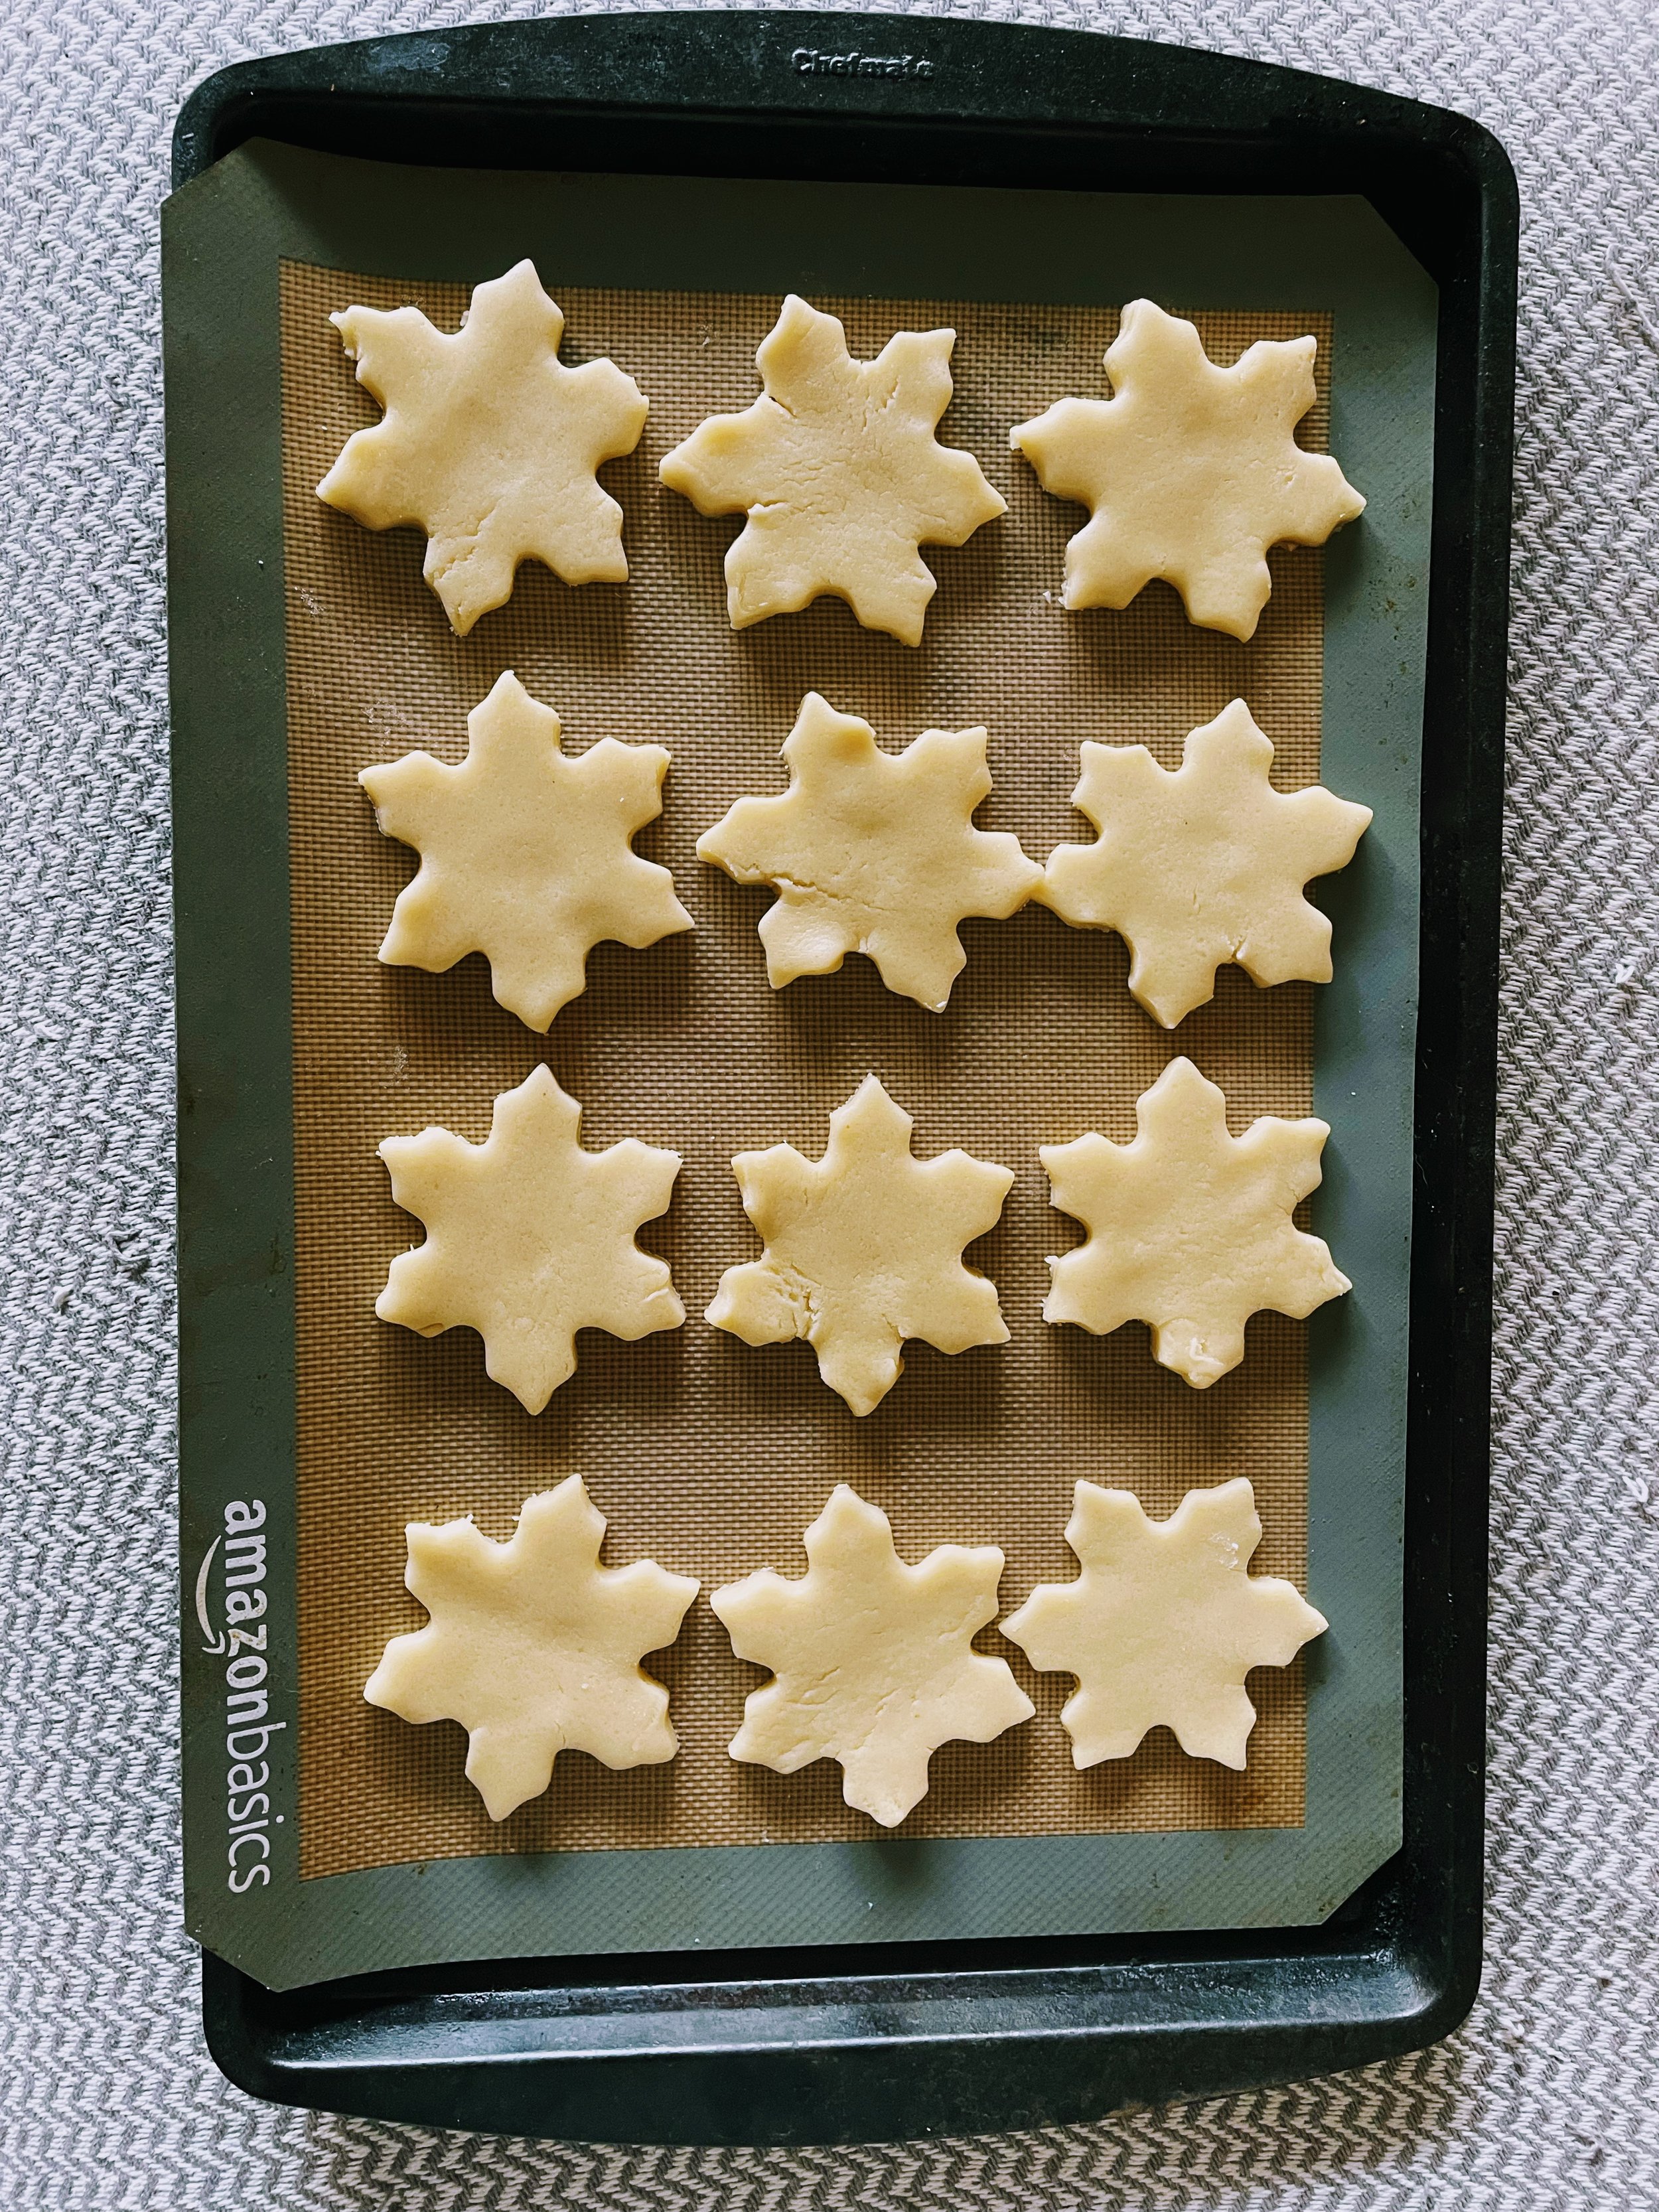
Roll out the dough to your desired thickness (I like to do thicker cookies for a strong foundation) and cut into your preferred shapes. I personally like to use one shape to make the most of the dough, but have fun with it. Repeat with remaining sections.
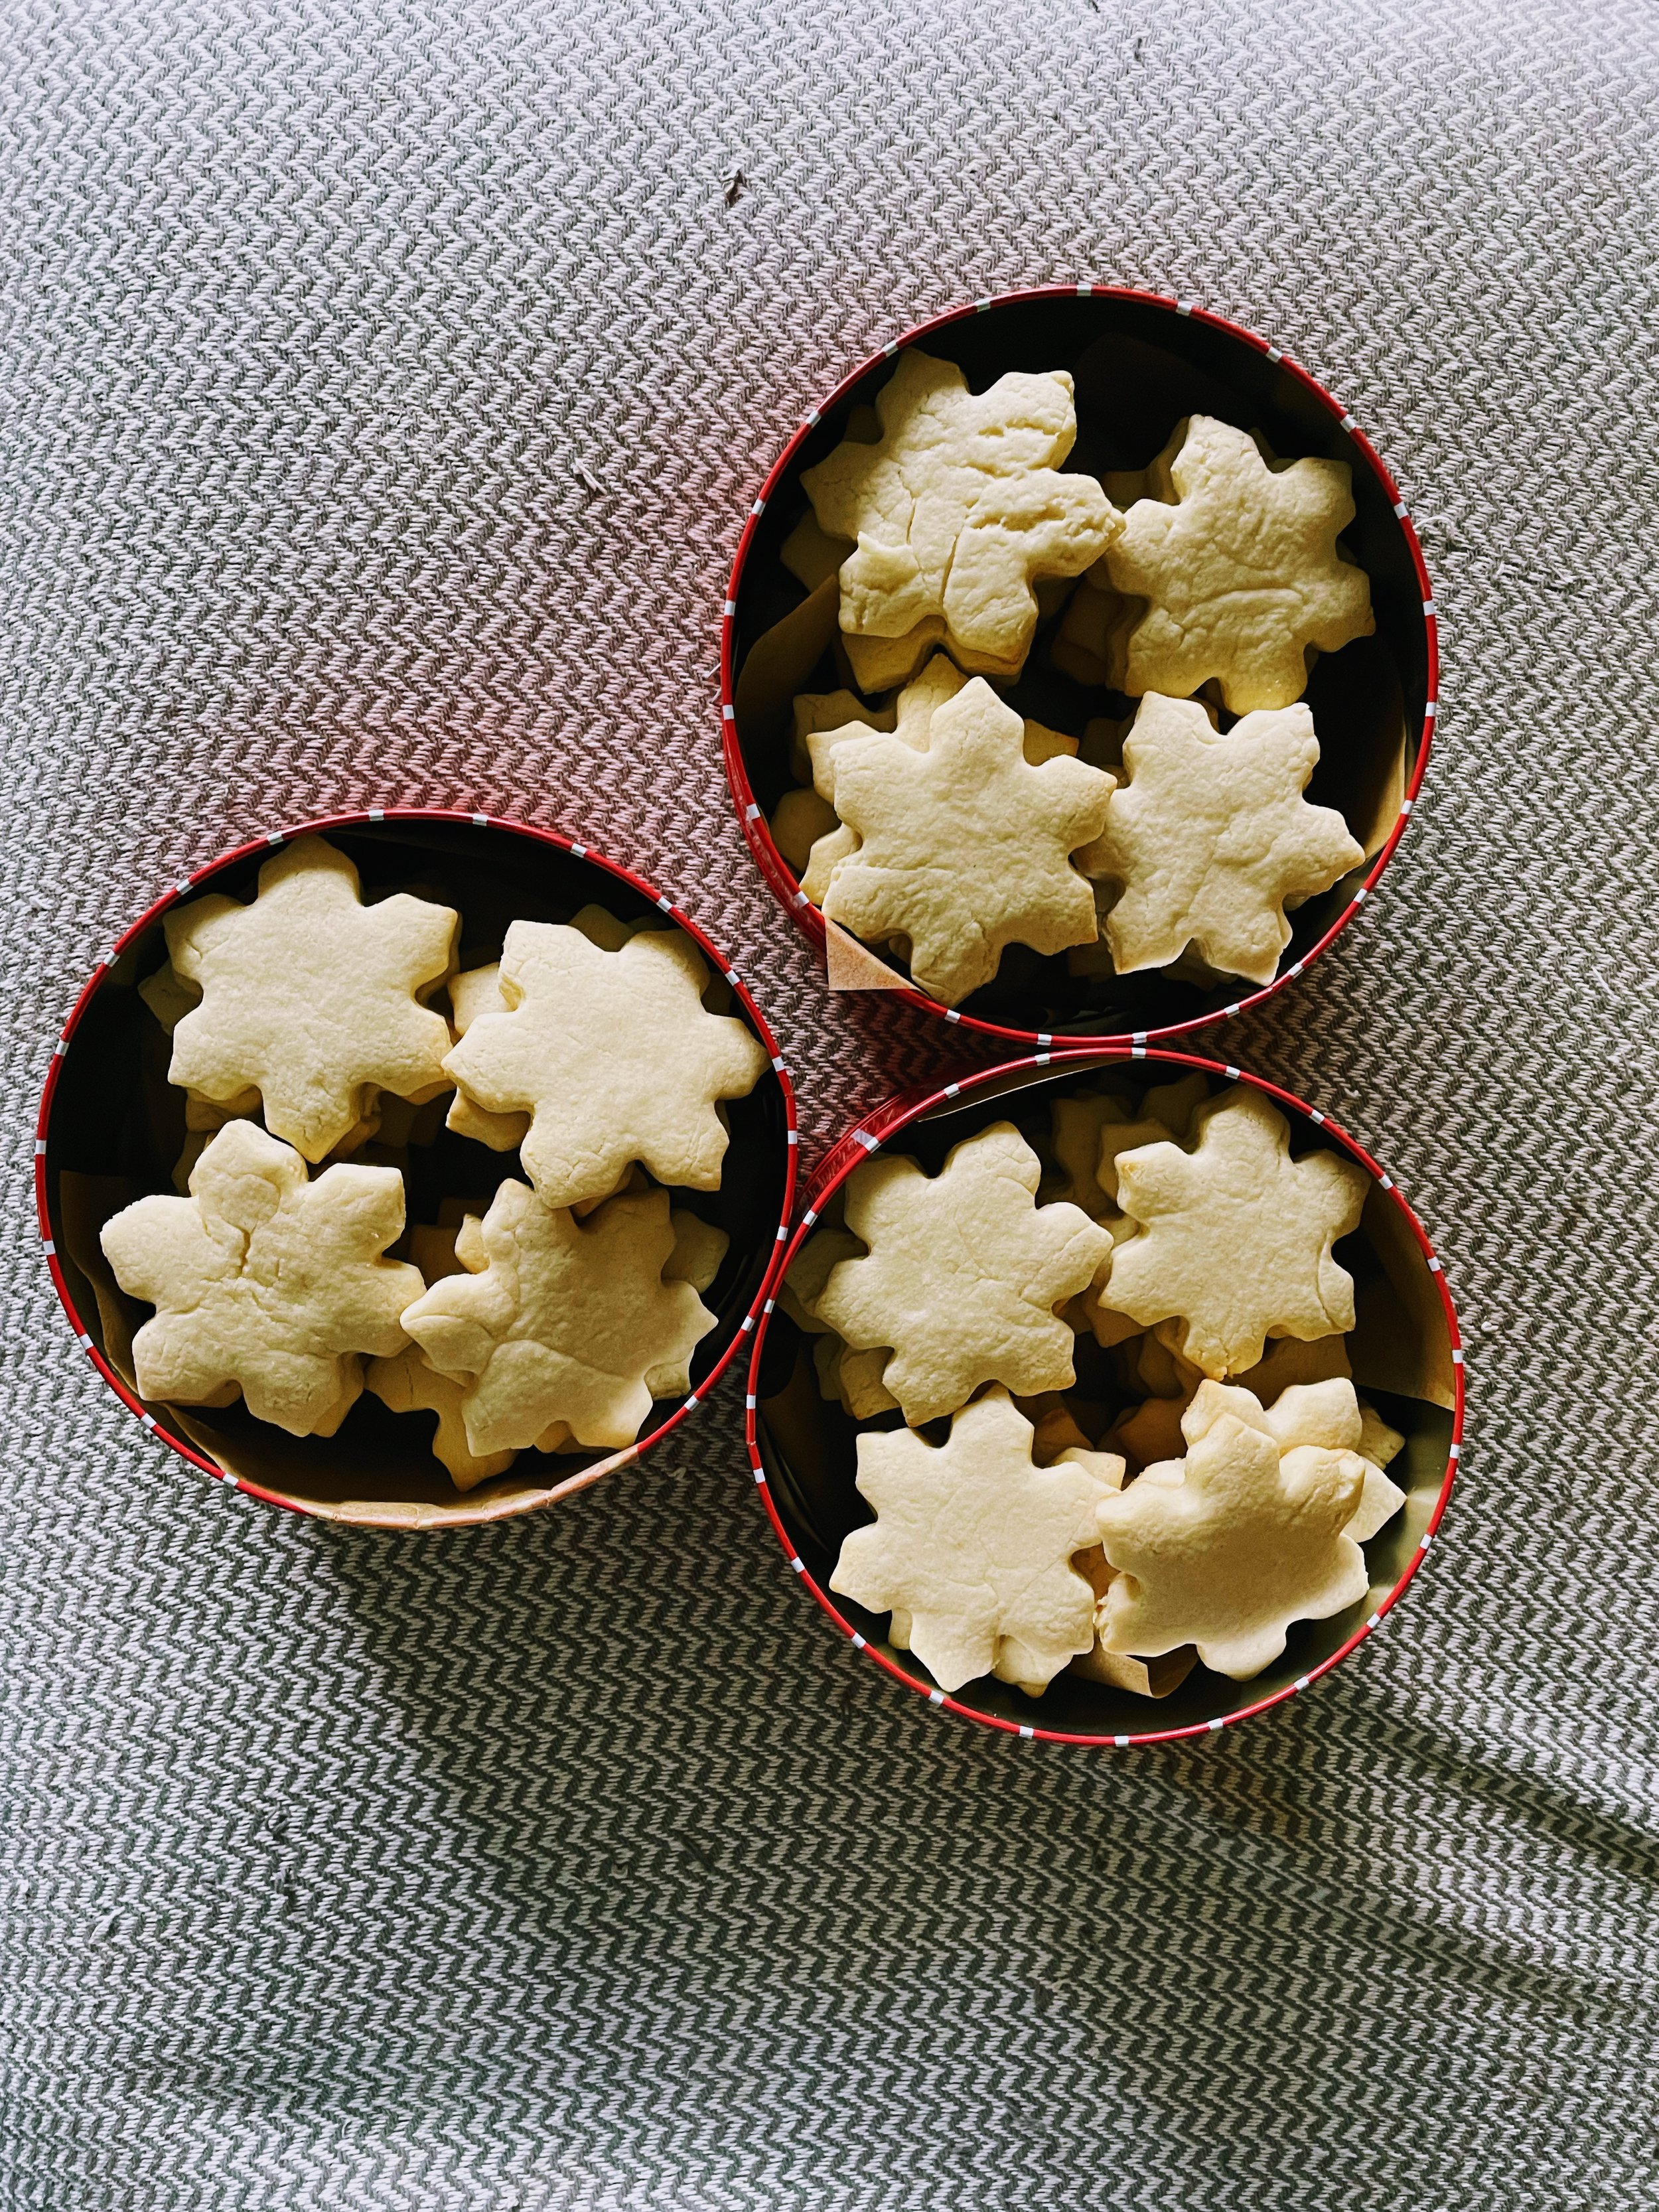
Bake the cookies in batches at 400 degrees Fahrenheit for 8 minutes, but monitor depending on your oven tendencies. You want these to be fully baked, but still really light and slightly golden on the bottom.
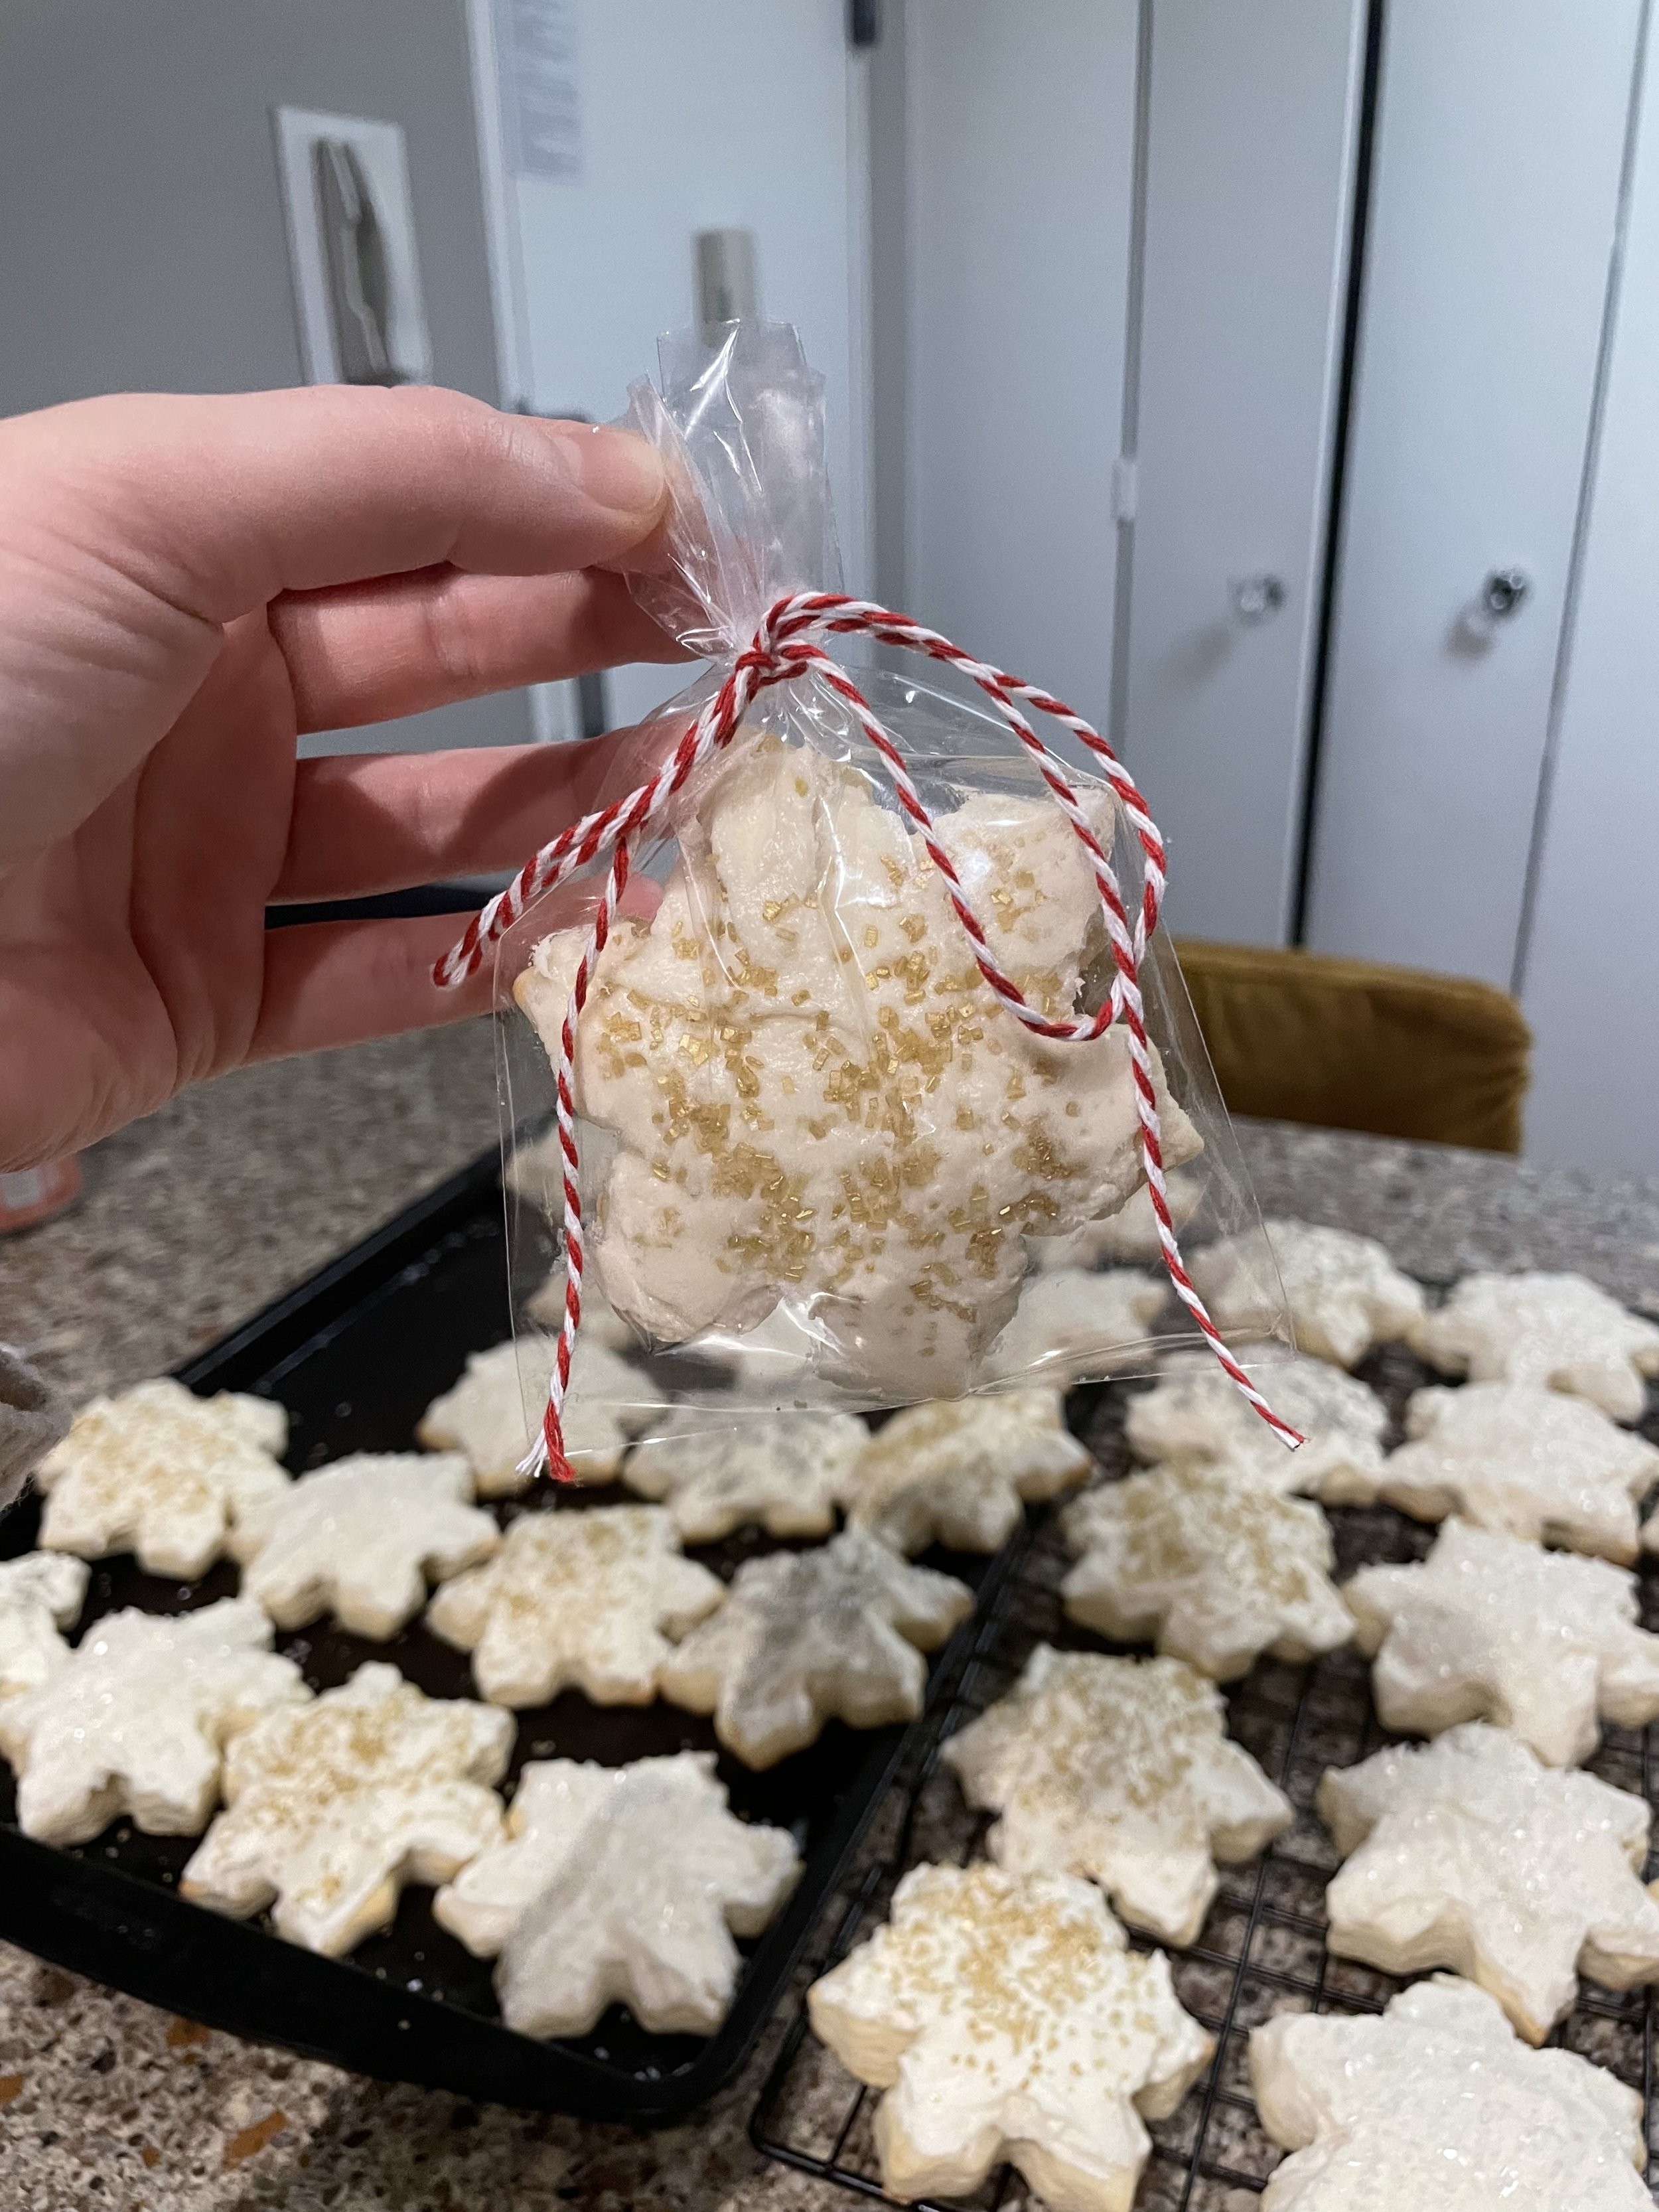
Pro tip: Freeze the unfrosted cookies after baking for future use and frosting so they’re fresh!
FOR THE FROSTING
When the cookies are completely cooled, make the frosting by creaming together the softened butter and powdered sugar, then add the salt, milk and extracts. Let this beat on medium speed until it gets really fluffy. If you’re not frosting right away, keep this refrigerated.
I like to leave this white, but feel free to add food coloring to the frosting. You may need to refrigerate after if it starts to separate.
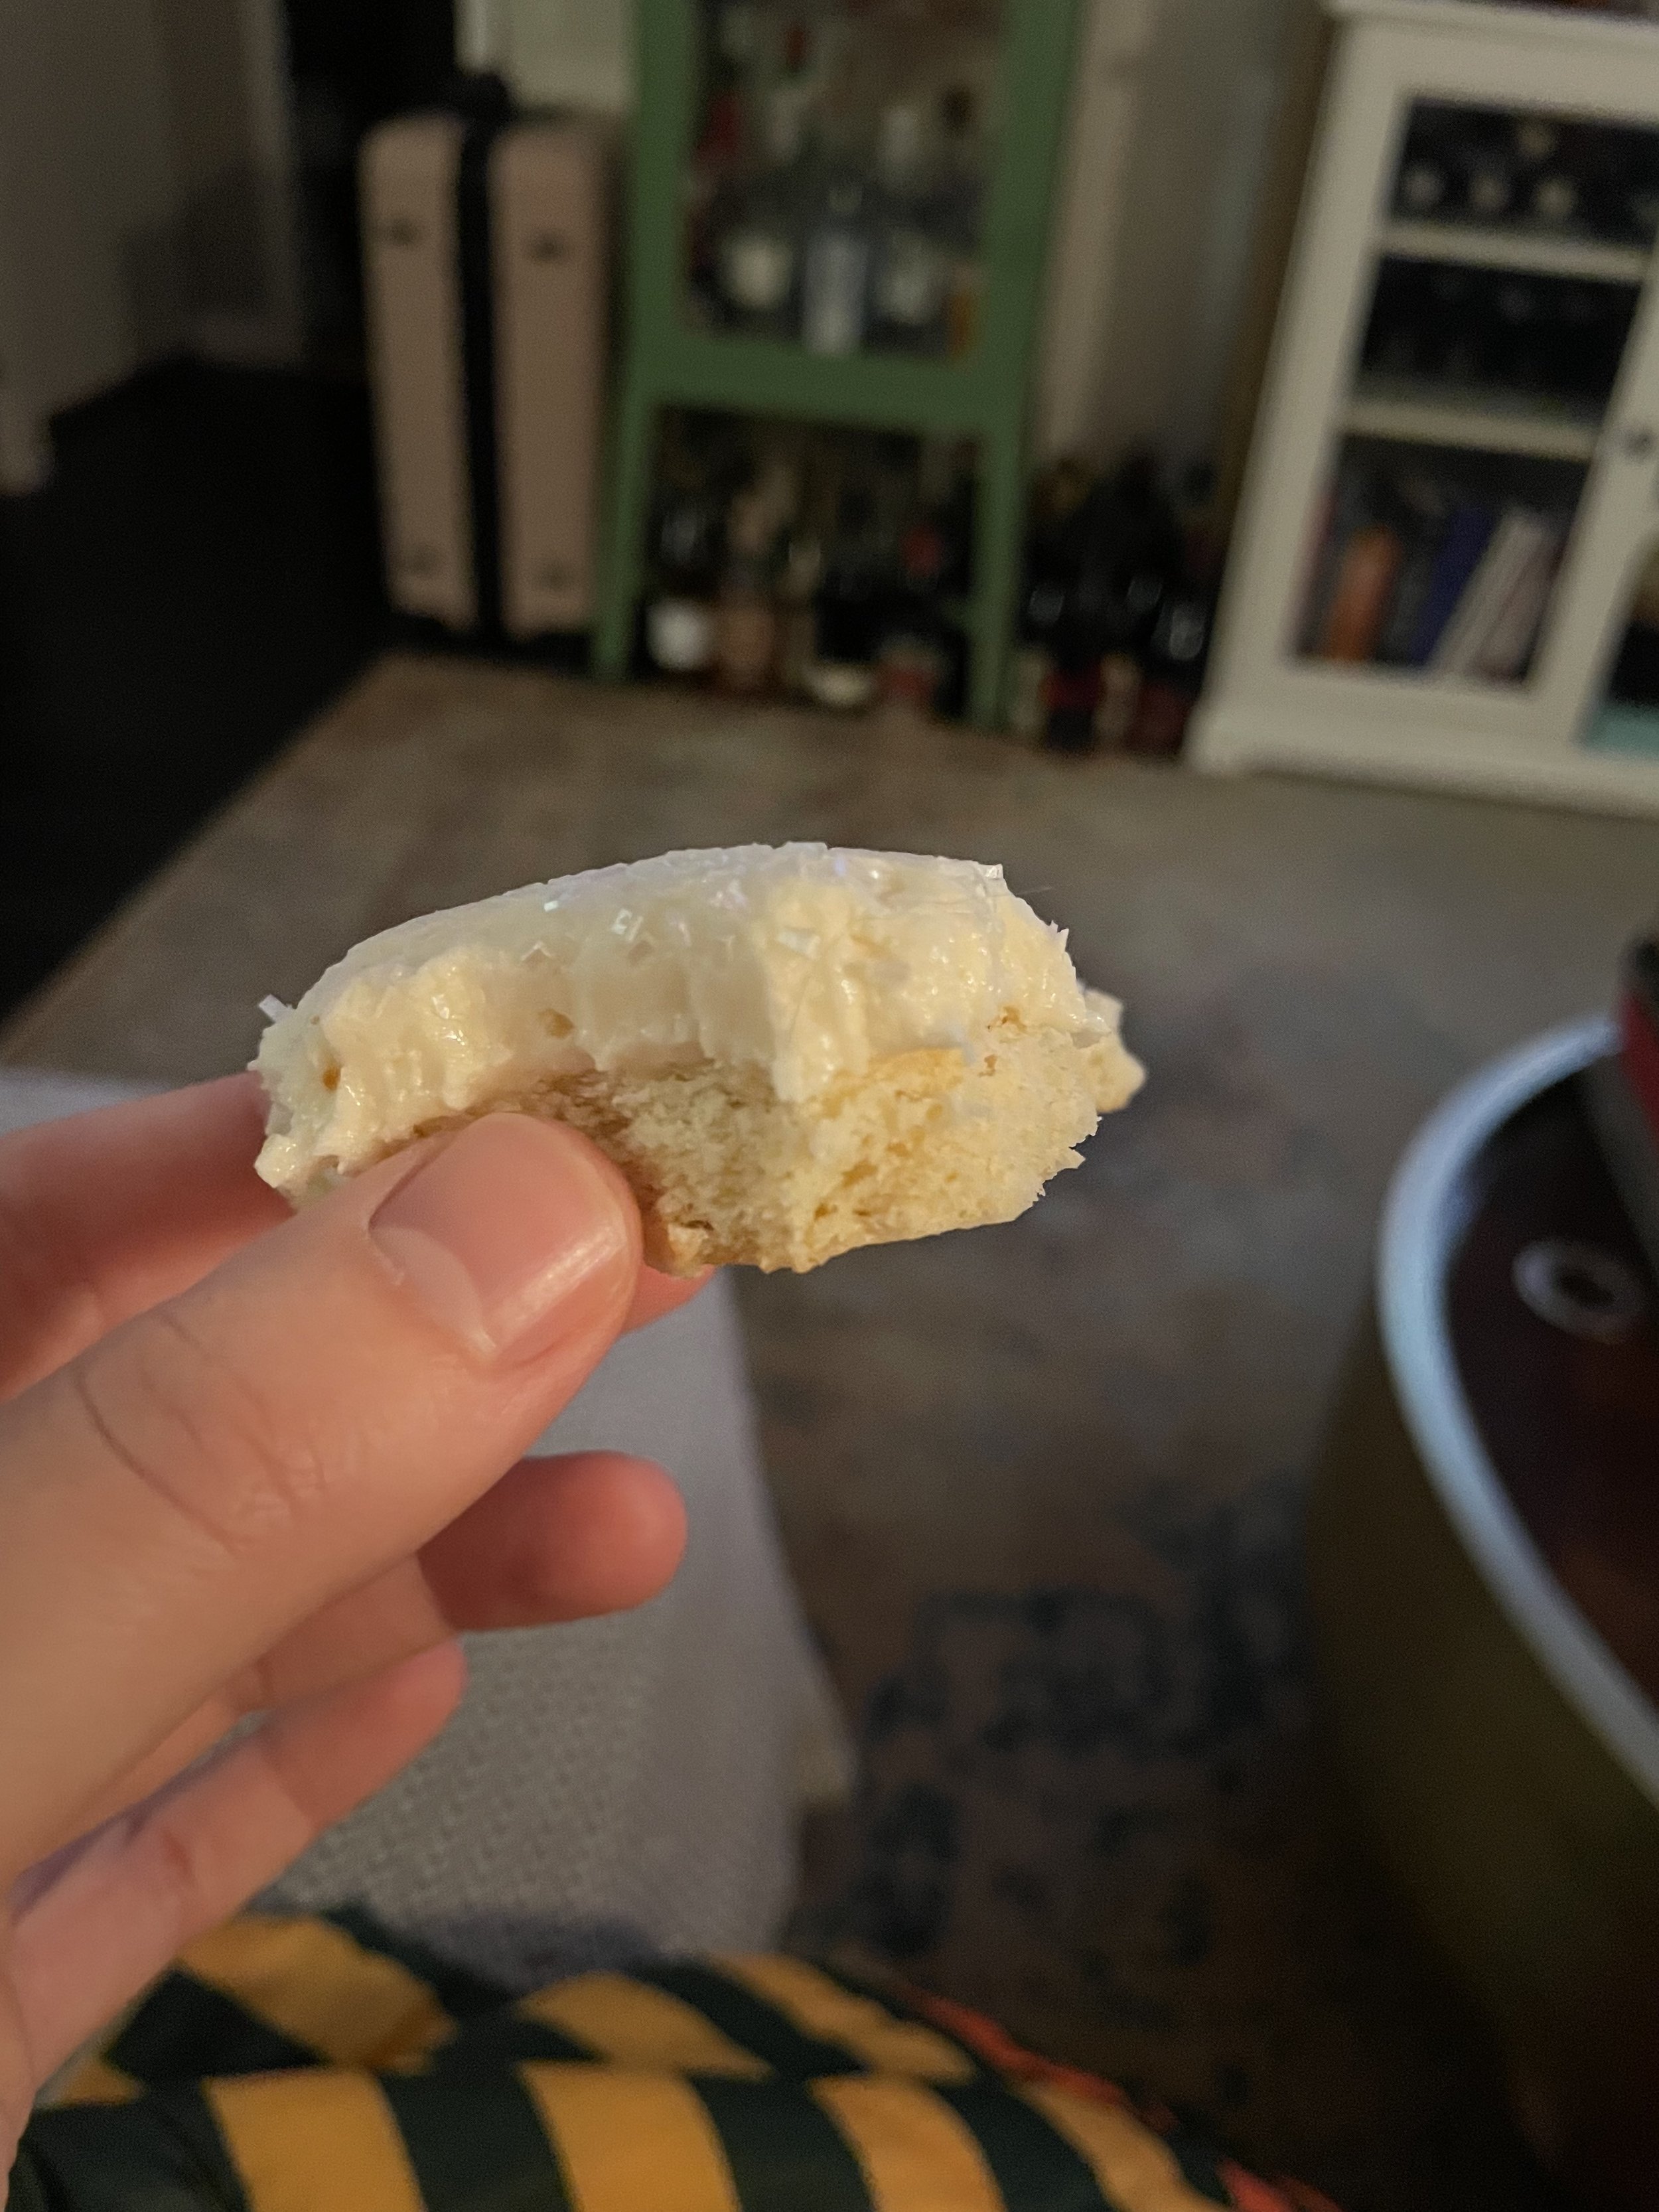
Top with sprinkles or other festive decorations!